Getting Started With Eclipse
-
Installing the plugin
-
Adding a project to Vault
-
Importing a project from Vault
-
Uninstalling the Vault plugin
-
Check out/check in
Installing the plugin
The version of Eclipse used in this example is 3.6.1, referred to as Helios.
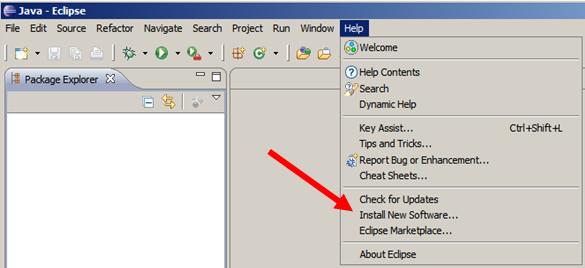
- Open Eclipse. Go to Help – Install New Software.
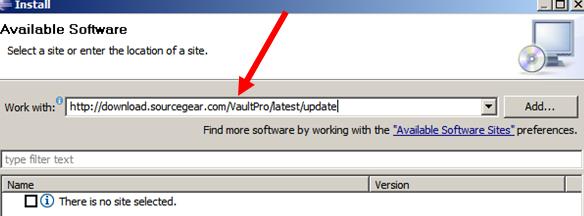
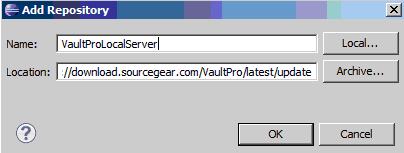
- In the top text box, enter one of the following URLs. Click Add.
- If you are using Vault Professional, use the URL:
https://download.sourcegear.com/VaultPro/latest/update - If you are using Vault Standard, use the URL:
https://download.sourcegear.com/Vault/latest/update - Give your install a name, then click OK.
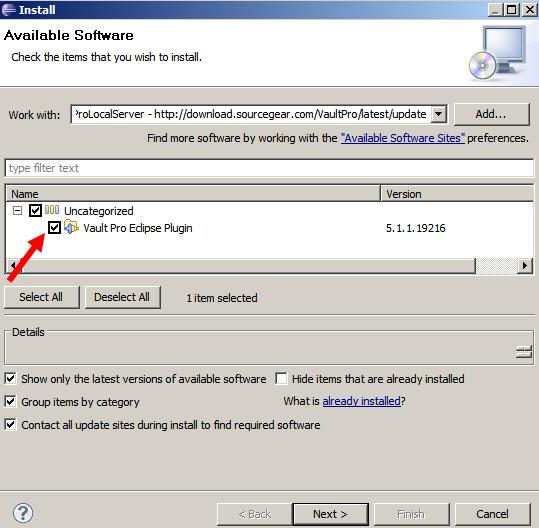
- Expand the Uncategorized check box to see the available software.
- Check the Vault/Vault Pro option and click Next.
- Wait as the software calculates requirements and dependencies. Click Next when it is finished.
- Choose the option to accept the terms of the license agreement and click Finish.
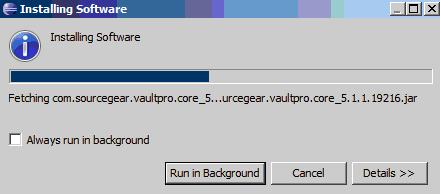
- Wait as the software installs.
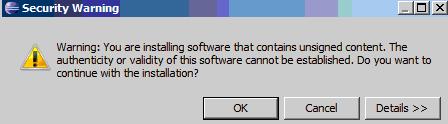
- If you receive a security warning, click OK.
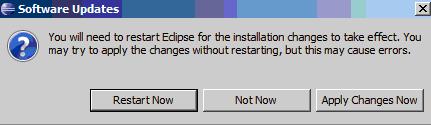
- Once the software is installed, Eclipse will request a restart. Click Restart Now.
- Once the restart finishes, Eclipse will open and verify your workspace again.
Adding a project to Vault
- Open Eclipse and your project.
- Right-click the top level of your project and select Team – Share Project.
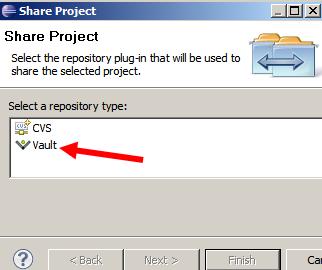
- Select Vault as the repository that will be used to share the project.
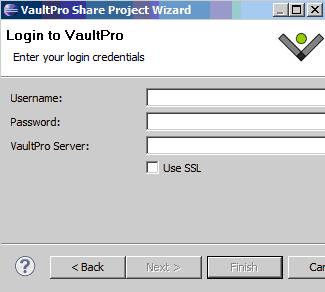
- Login to Vault.
- Choose your Vault repository and click Next.
- Choose the repository folder where you are placing the project and click Finish.
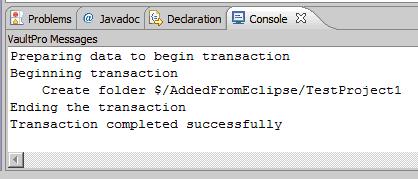
- At the bottom in the console window, you will see the results.
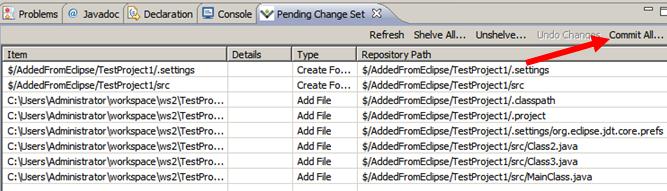
- After that the Vault Pending Changes should open with all the files you need to check in. Click Commit All.
- You may receive pop-ups that say there have been changes. Click Yes to save changes.
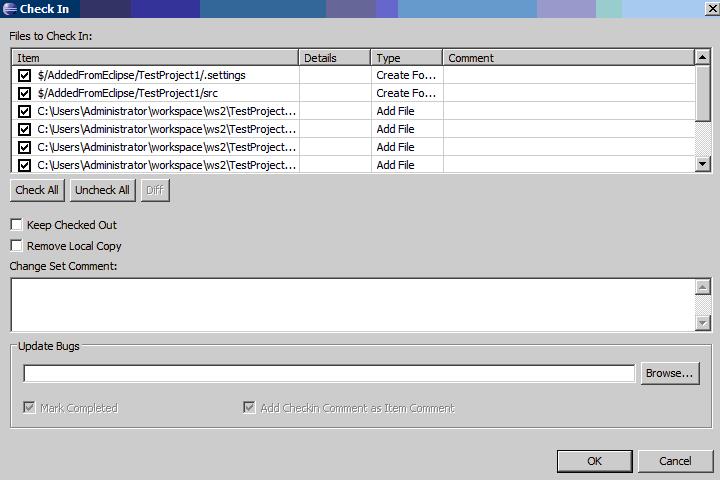
- A checkin window will open with a summary. You can add a comment or use the Browse button to find bugs or work items to check this in against. Click OK.
- You are now ready to work or check out your first item.

Importing a project from Vault
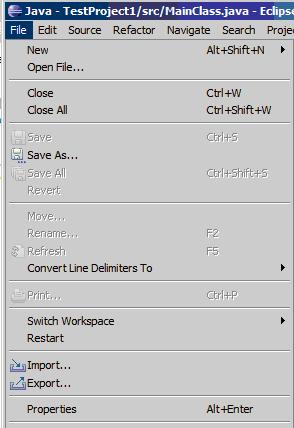
- If the project is already in Vault, you go to File – Import to bring the project from Vault to Eclipse.
- Expand Team and click on Project from Vault and click Next.
- Login to Vault, click Next, choose your repository, and click Next.
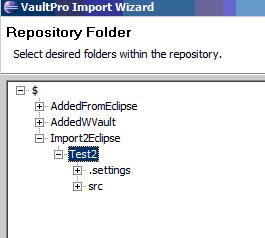
- Select your project folder and click Next.
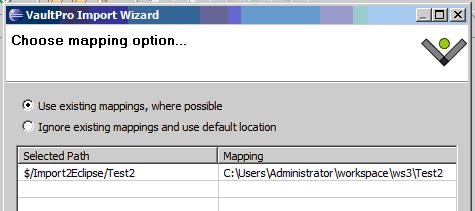
- Choose Mappings and click Finish, or Next.
- You are now ready to work or check out your first item.

Uninstalling the Vault plugin
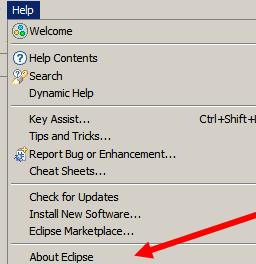
- In Eclipse, go to Help – About Eclipse.
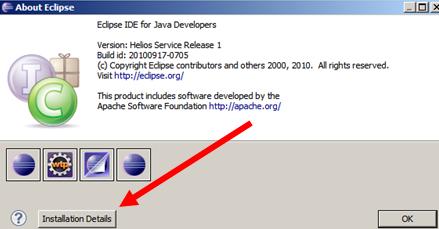
- Click on Installation Details.
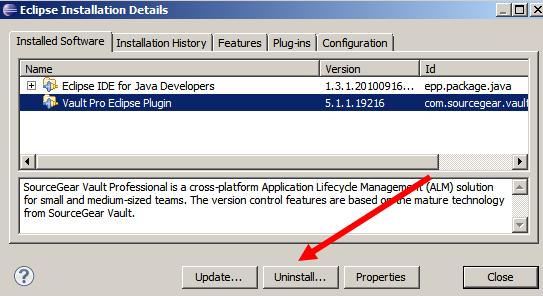
- Click the Vault Eclipse Plugin/Vault Pro Eclipse Plugin, and click Uninstall.
- Click Finish.

Check out/check in
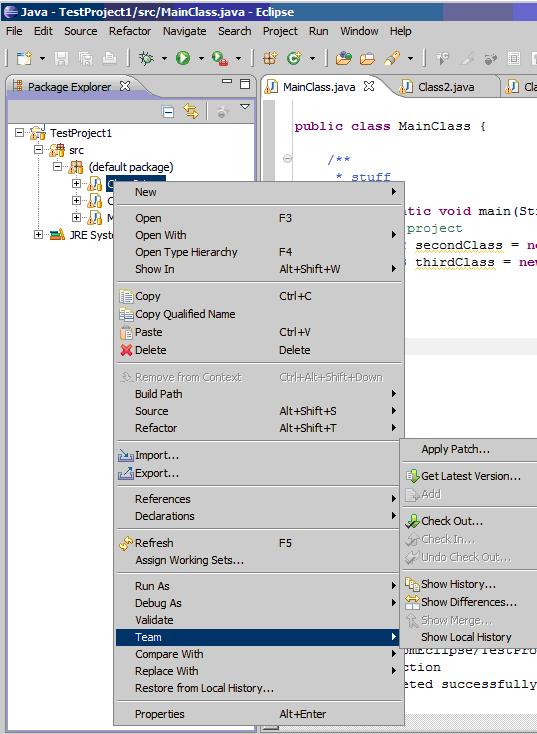
- Once everything is committed, you are ready to check out the items you wish to work on. Right-click the file you wish to work on, and select Team – Check Out.
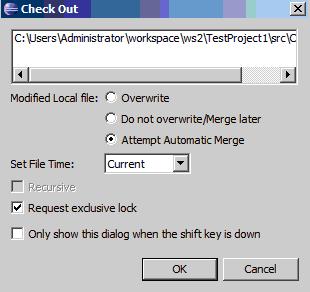
- A window with check out options should open. Set your options and click OK.
- Edit the file or files.
- You can check in by right-clicking a file and selecting Team – Check In, or by using the Commit All button in the Vault Pending Changes window at the bottom.