
Getting Started with the Vault Client
You're looking for a new version control system, and you’ve decided to try Vault.
What's next?
- Attend one of our online demos to learn about Vault and what it can do for you and your team. http://www.sourcegear.com/vault/demorequestform.html
- How will Vault work in your particular environment? We recommend that you download the evaluation version and try it for yourself. Download Vault from our website at: http://www.sourcegear.com/vault/downloads.html
- Request a demo serial number if more than one user will be connecting to the Vault server. https://csp.sourcegear.com/eval.aspx
- Review the Vault installation guide: http://www.sourcegear.com/vault/documentation/install/index.html
- Install the Vault server.
- Next, users should install the Vault client on their machines.
- If you're new to source control, you will find useful information in this Source Control How to, written by the founder of SourceGear: http://www.ericsink.com/scm/source_control.html
What you will find in this guide:
- Server Install Notes – Upgrading Users
- Your First Login as Vault Admin
- Upload a Visual Studio Project
- Open From Vault
- Add Files with the Vault Client
- Vault Minimum System Requirements
1. Server Install Notes – Upgrading Users
Important! Before upgrading, back up your sgvault and sgmaster databases.
If you encounter any problems while upgrading, please contact us on our support forum at <a href="http://support.sourcegear.com/viewforum.php?f=5">support.sourcegear.com</a>
If you are upgrading from a previous version, you may need to upgrade your Vault licenses. Log into our online store to upgrade your licenses. Have licenses ready before installing or upgrading, so that your users will be able to connect. (Note: the Vault Admin user does not need a license to connect.)
2. Your first login as Vault Admin
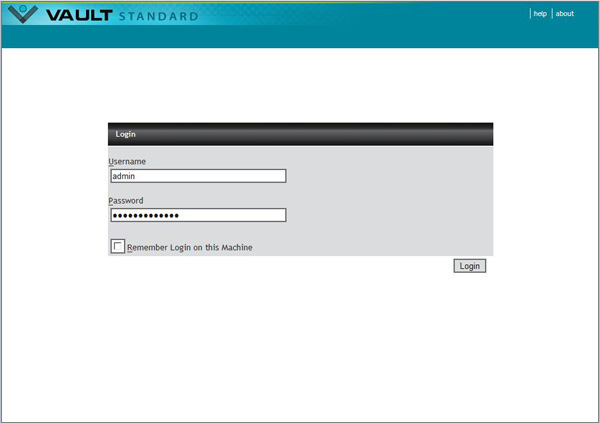
After the Vault Server installation, you will be prompted for a login and password. Use the login “admin” and the password that you set in the installer.
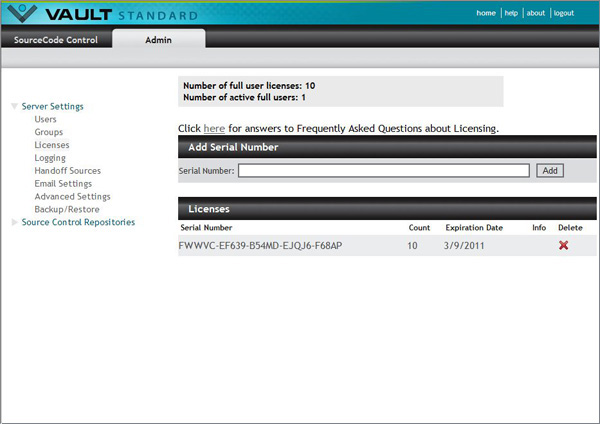
After logging in, you can add the demo serial you previously requested, or add your Vault 5.1 permanent serial number if you’ve upgraded. Configure your licenses in Licenses section of the Vault Admin Web Client. The URL will be: <a href="http://localhost/VaultService/Admin/Licenses.aspx" rel="nofollow">http://localhost/VaultService/Admin/Licenses.aspx
You may get a message asking if you wish to Handoff a VSS database. Handoff brings the latest versions of files from a Visual SourceSafe database into Vault, and maintains a link to the VSS database for VSS history. Click Handoff Now to configure your VSS database connection, or Not Now to continue setting up Vault Standard.

If you choose “Not Now,” continue setting up Vault by clicking on the Users link.
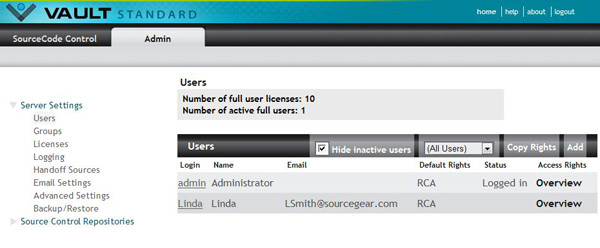
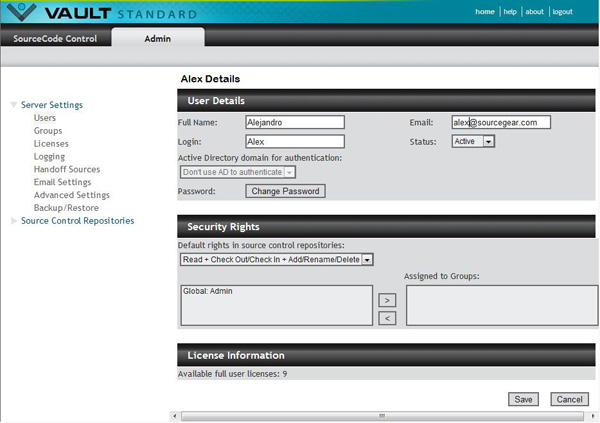
On the Users page, click the Add button to add new users.
3. Upload a Visual Studio Project
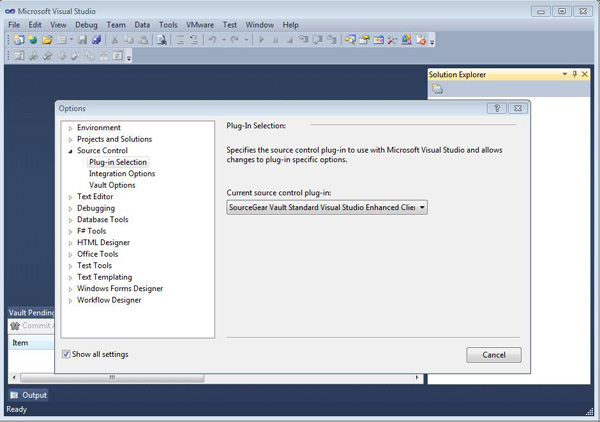
If you are using Visual Studio, we recommend using the Vault Visual Studio Enhanced Client for source control integration. You can select the Enhanced Client in Visual Studio under Tools->Options->Source Control->Plugin Selection.
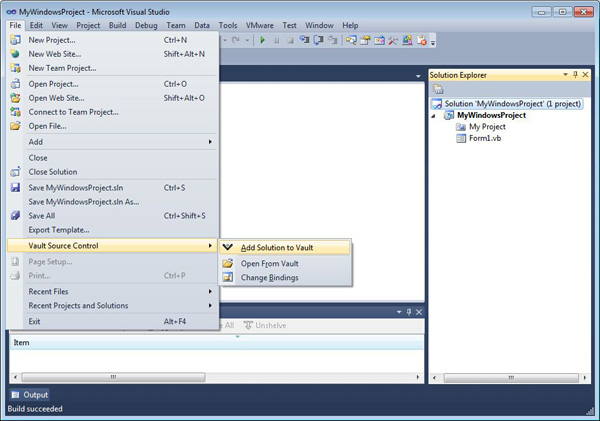
Now open your solution in Visual Studio. Select File->Vault Source Control to add your project to the Vault repository. You can also right click on an item in your solution and choose “Add Solution to Vault ”
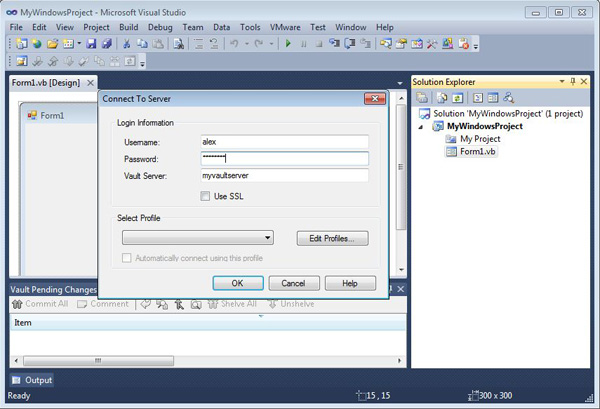
You’ll get a login prompt.
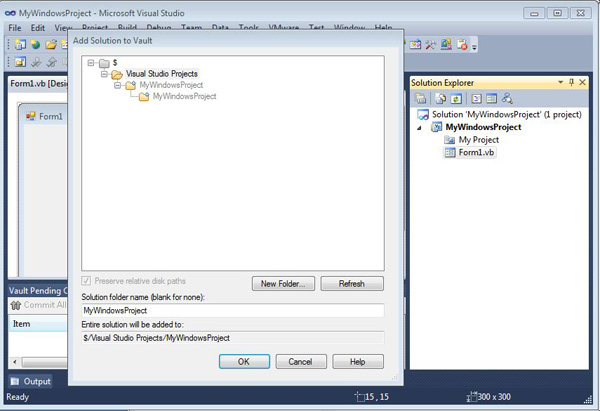
Select the repository, then choose the destination for your solution in the Vault repository, and hit OK.
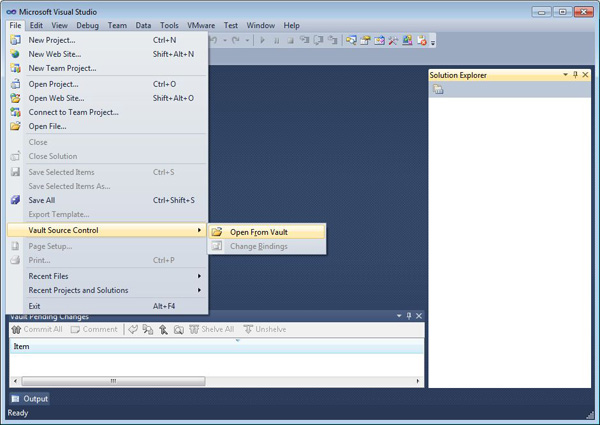
4. Open From Vault
If you wish to open a project that another user has already added to the Vault repository, select File->Vault Source Control->Open from Vault. Or, you can GET the project with the Vault GUI Client, and then open the project from disk with Visual Studio.
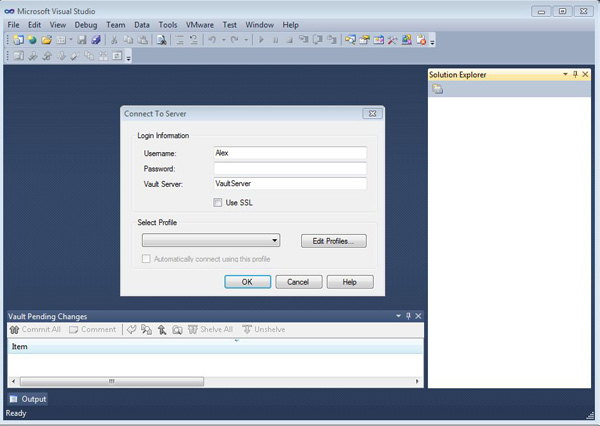
You will get a login prompt.
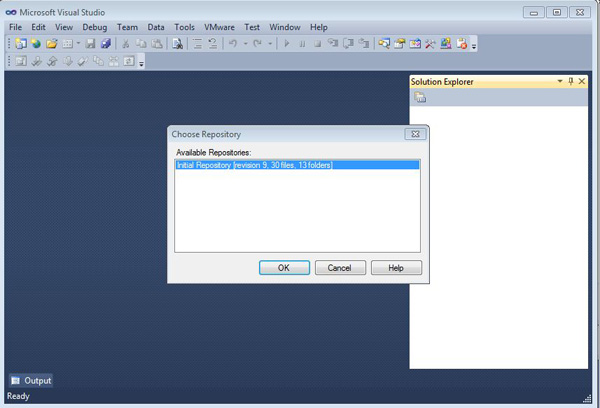
Select your repository.
Browse to the location of the solution/project you wish to open.
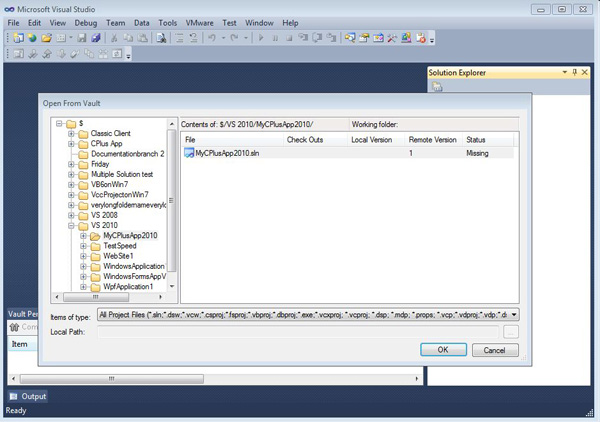
You only have to “Open from Source Control” the first time you get the project from the repository. After this, when you want to work on your project, just open it from disk, and it will automatically connect to your Vault repository.
For additional information about using Vault Visual Studio integration, see this KB article:
http://support.sourcegear.com/viewtopic.php?f=13&t=11590
5. Add Files with the Vault Client
If you’re not using Visual Studio, you can add files and folders to Vault with the Vault GUI Client.
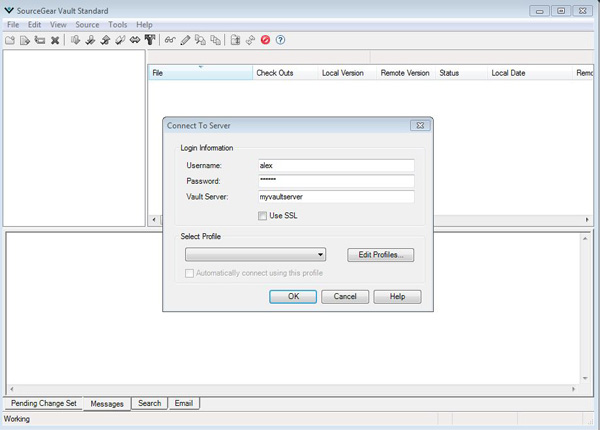
Log in to Vault and select your repository.
In the client, select File->Add Files/Folders. Browse your hard drive and select the items you wish to add to the repository.

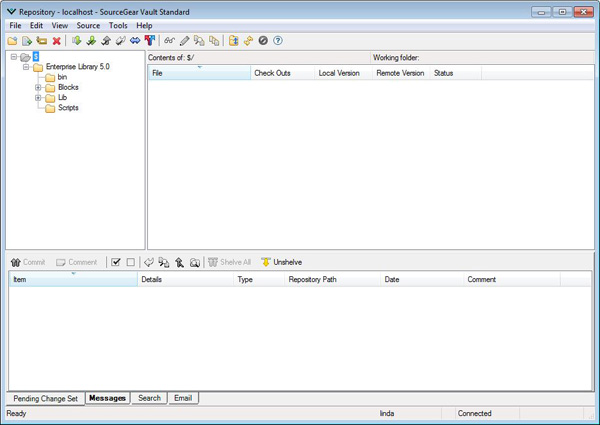
Now you can see the folder tree in the repository.
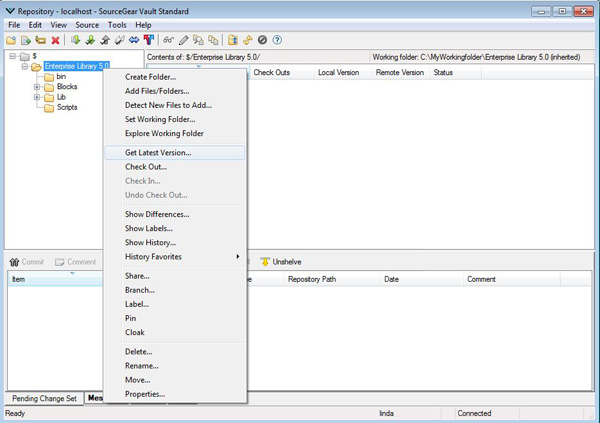
Set a working folder on your client machine, and do a Get Latest to bring the repository files into the working folder.
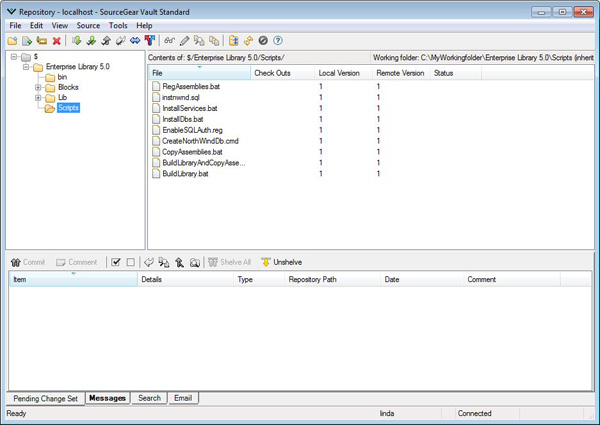
A “blank” status means that your files are up-to-date with repository version. Now you can start working with Vault source control.
For an introduction to using source code control, see ericsink.com/scm/source_control.html.
Also, see our support forum Knowledge Base for tips on using Vault and solutions for common issues: http://support.sourcegear.com/viewtopic.php?f=13&t=792
6. Vault Minimum System Requirements
Client
Vault Clients require at least the .NET Framework 2.0 and are supported on these operating systems:
- Windows XP Professional (SP2)
- Windows Server 2003
- Windows Vista (Business and Ultimate)
- Windows Server 2008
- Windows Server 2008 R2
- Windows 7 (Professional and Ultimate)
- Windows 8 (Release Preview and Release)
Server
You will need a Windows Operating System.
The Vault Server requires at least the .NET Framework 4.0 and is supported in both the 32-bit and 64-bit versions of these Windows operating systems:
- Windows XP Professional (SP2)
- Windows Server 2003
- Windows Vista (Business and Ultimate)
- Windows Server 2008
- Windows Server 2008 R2
- Windows 7 (Professional and Ultimate)
- Windows 8 (Release Preview and Release)
The Vault Server Database requires a Microsoft SQL Server.
- QL Server 2005 (SP2) or SQL Server Express 2005 (SP2)
- SQL Server 2008 or SQL Server Express 2008
- SQL Server 2008 R2 or SQL Server Express 2008 R2
- SQL Server 2012
The Vault Server also requires a version of Microsoft IIS.
- IIS 5.1 or higher with .Net 4.0 Full Framework for Server and Development (not the Client Profile, which is for the desktop). http://www.microsoft.com/net/download
Your server computer should have at least:
- 2.4 GHz CPU or better
- 2-4 GB RAM depending on configuration
- 20 MB available hard disk space